SAVING TIME AND MONEY SERIES
“The lab’s on the line, and they don’t have what they need to do the repair…”
Have you ever gotten that call as you try to finish your afternoon in the dental office? It’s usually not a call the lab technician enjoys making, nor is it a good one to receive. Especially so, if an earlier impression was a hard one to take, or if a patient was in a hurry, and you’ve got to call the patient back to re-impress, or get a shade, or a number of other possibilities.
Here’s a no fail list of two common scenarios to know exactly what the lab will need.
Will they truly need all the information this list provides? Maybe not. But, they won’t be calling you back asking for more…
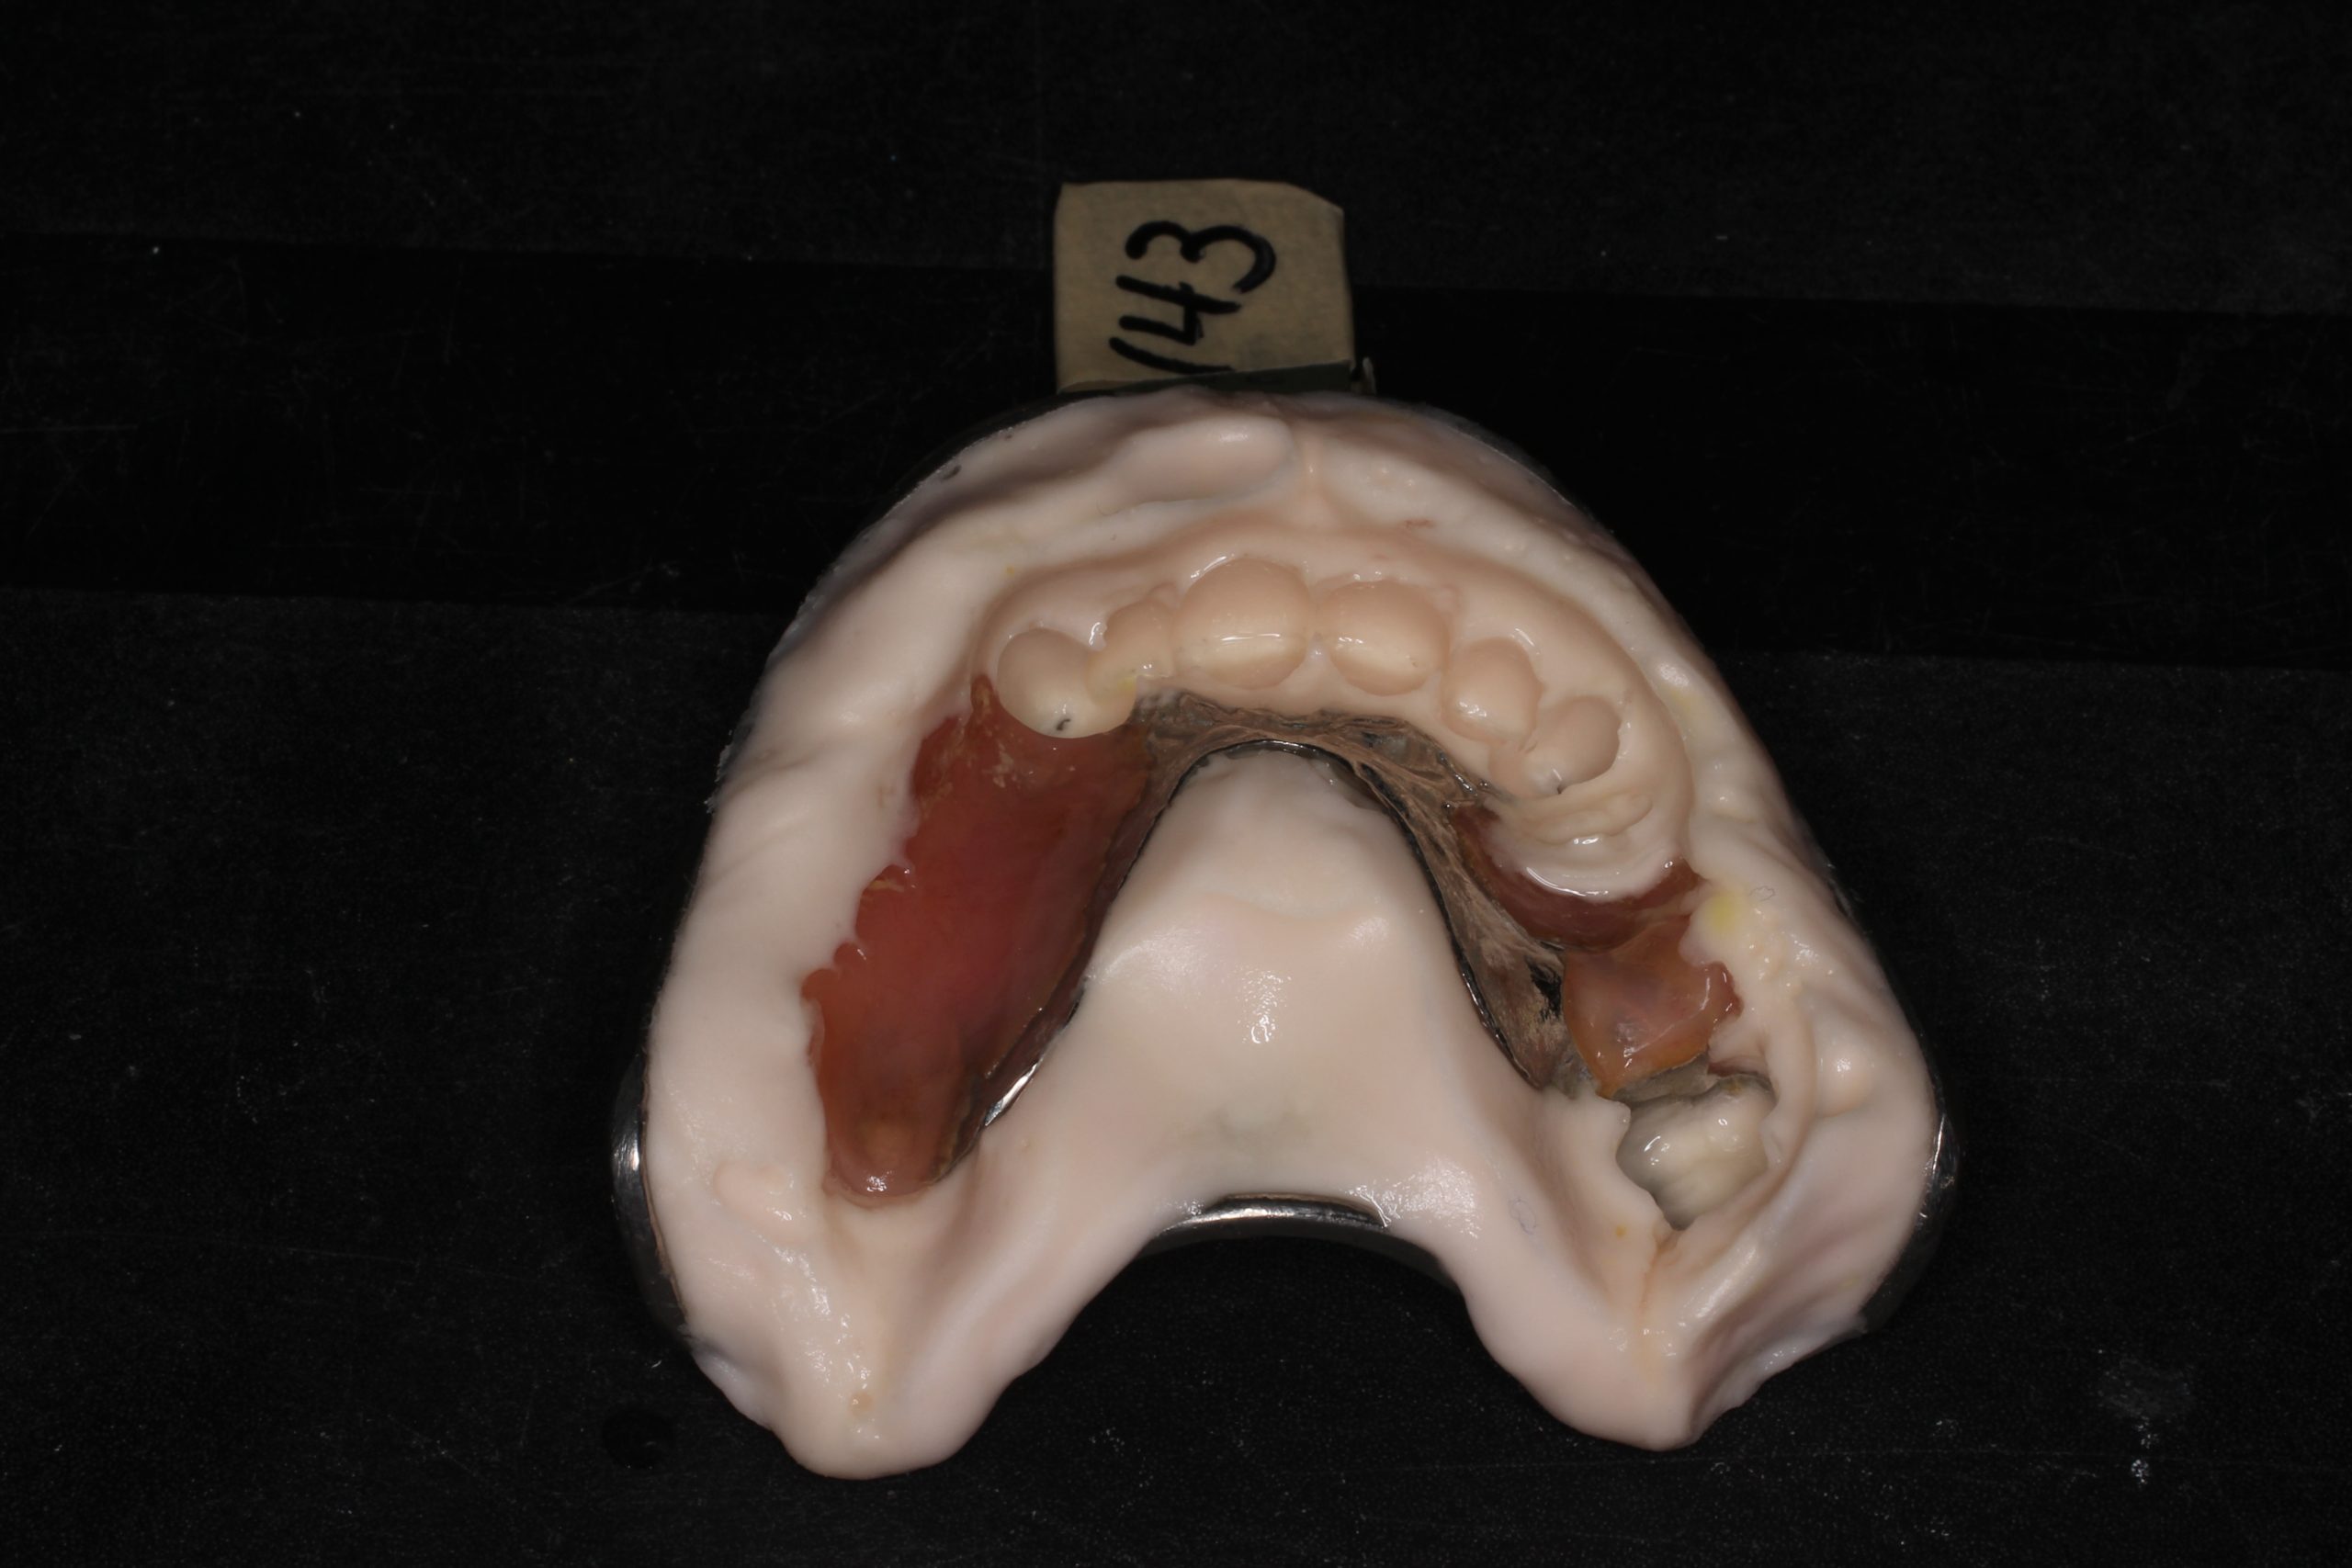
When you are somehow repairing a cast removable partial denture: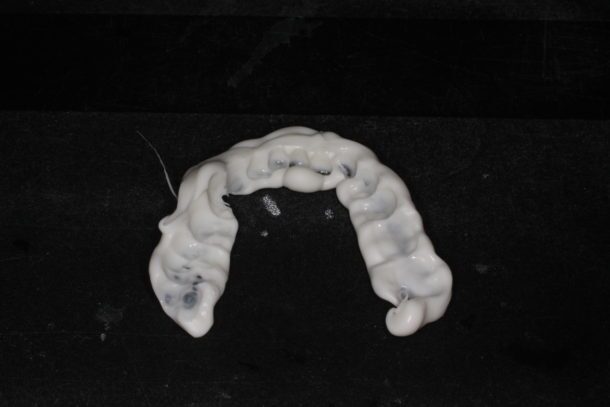
1. Take a bite. – Just in case it can’t be hand articulated. Often old partials are so worn, they don’t perfectly occlude. A thin blue muse bite will usually suffice. Not a glob of material. And not putty. Make sure teeth contact teeth.
2. Opposing model. – The lab might not need this if it’s a broken partial. But then again, they might! If they are adding or replacing a tooth, you’ll never be sorry for sending them this information because there will be that opposing occlusal surface to work with. Without it, the technician is throwing darts at an invisible dart board.
3. A shade. – Just do it! If a shade doesn’t come with the repair, the best that can be done is to match those existing denture teeth on the old partial. That’s too bad if for some reason those denture teeth are far more stained than the remaining dentition.
4. A pickup impression. – This is the most important part! That partial must fit on something! If you provide just a naked impression of the arch, there is no way that partial frame will fit on a stone model. Soft tissue differences as well as undercuts will prevent that framework from seating, resulting in that dreaded call back. Pull that partial so it can be poured up within the new impression. And always do yourself a favor, and take this impression in a medium bodied PVS material! You’ll never be upset that you invested a little more into a stable material to hold that partial in place, as compared to a cheap alginate that will rip and tear as you pull it from the mouth, and then have to deal properly re-seating the partial back into a torn, possibly inaccurate impression.
When you are repairing a complete denture: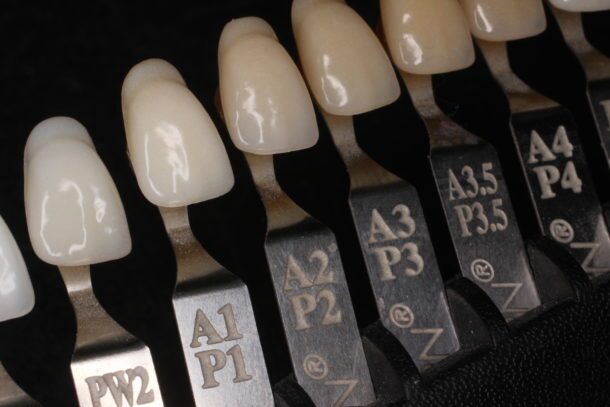
1. Opposing model. – Regardless of the type of repair. If it is a fracture, its a way the technician can check to make sure the two parts are in harmony with one another, thus occluding evenly with the opposing arch.
2. Take a bite. – It may not even be necessary in the lab. But if it is, it could save you precious chair time when delivering that repair back to your patient.
3. Any pieces. – Send all available broken pieces to the lab. Broken off teeth, broken off flanges, etc.
4. A shade. – Why you ask? Your records in your patient chart will show you the shade used on the case. This keeps the subjective eye of someone else from having to guess, and perhaps guessing wrong!
Your technician will always be willing to walk you through what information they need. Especially at Inter-Chrome Dental Lab, where we treat every repair with as much importance as a shiny new case. Call us at 757-271-5811 if we can ever guide you with your repair work.
