SAVING TIME AND MONEY SERIES
Let’s address an area where you can have instant success in your denture making workflow… Nailing your midline!
An area that we see consuming time and money is recording midlines in complete denture fabrication. It sounds easy enough right? Mark a midline. Did you know that more than half of all denture resets are the culprit of midlines being marked incorrectly? When you account for the chair time to do a bite registration in the first place, and add to that the turnaround time to receive a denture setup back from the lab, then get your patient back into the chair for a wax trial, only to find that your midline is 2 millimeters off to the patient’s left, it makes clinicians wonder if doing denture work is worth it at all. Now add in the fact that your patient isn’t thrilled about having to repeat what they have just finished doing 2 weeks ago, and you have a reason to really improve the precision of this important step.
 One easy way to mark a more precise midline is to get your patient out of the dental chair and stand them up in front of you. Over and over again, we see clinicians have the patient lean their head to one side when making this record from a lying position in the chair. When the patient is standing up, it’s far more likely that the marking will truly be in the center of the face. At this point, hand the patient the mirror! Let them see where you have marked it. Involving your patient in every aspect of this process will help them point out things that are important to them.
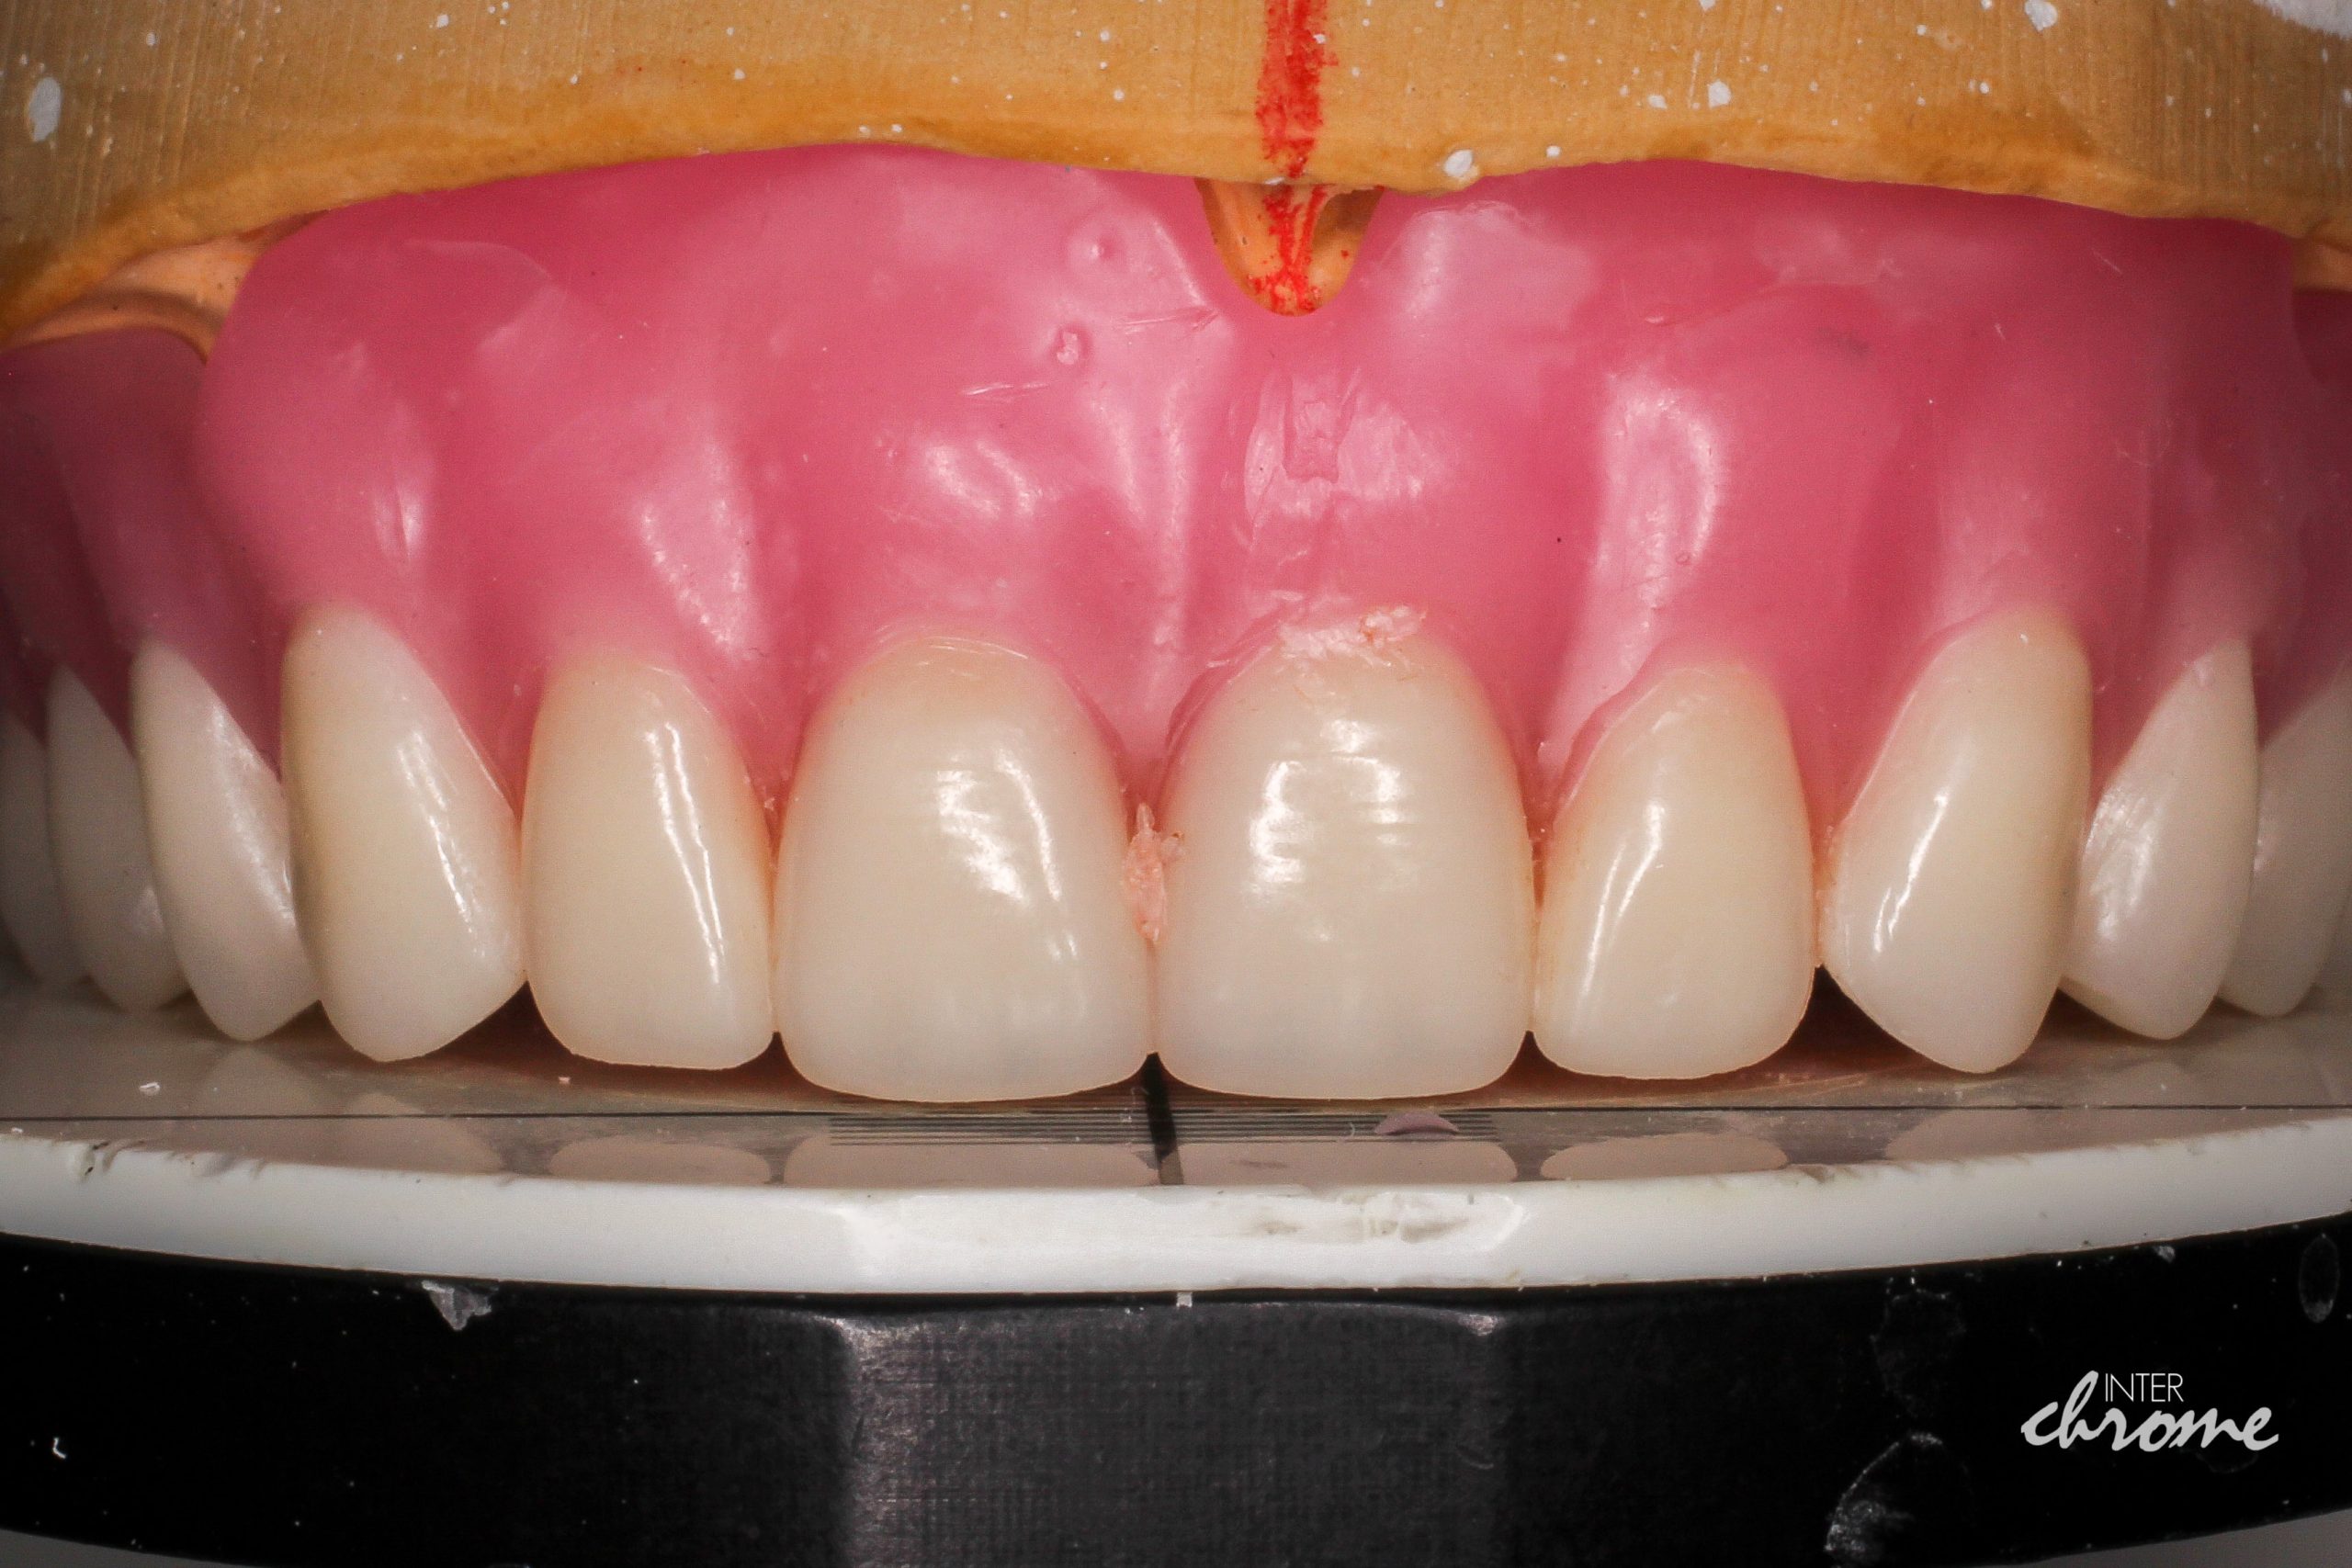
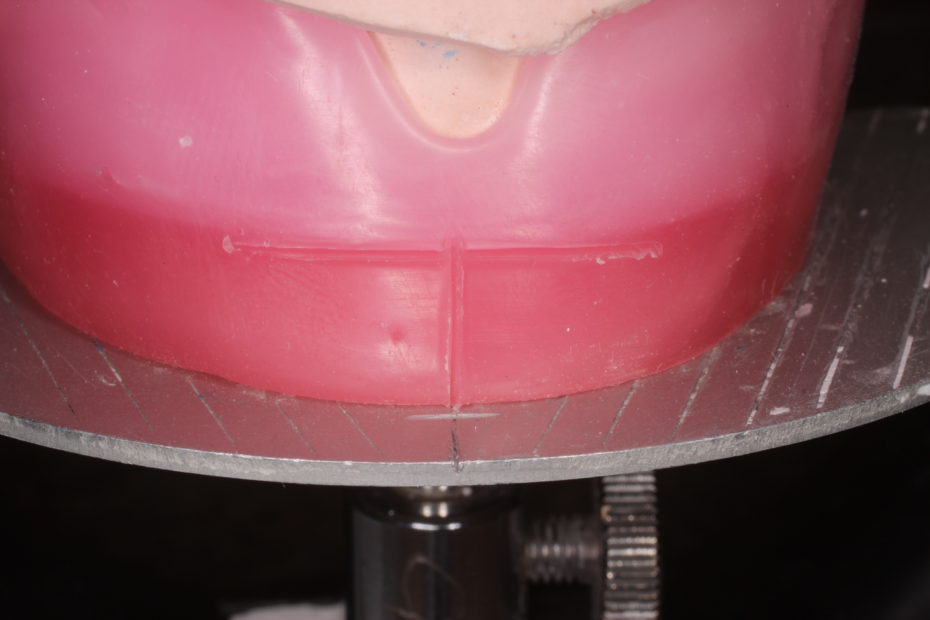
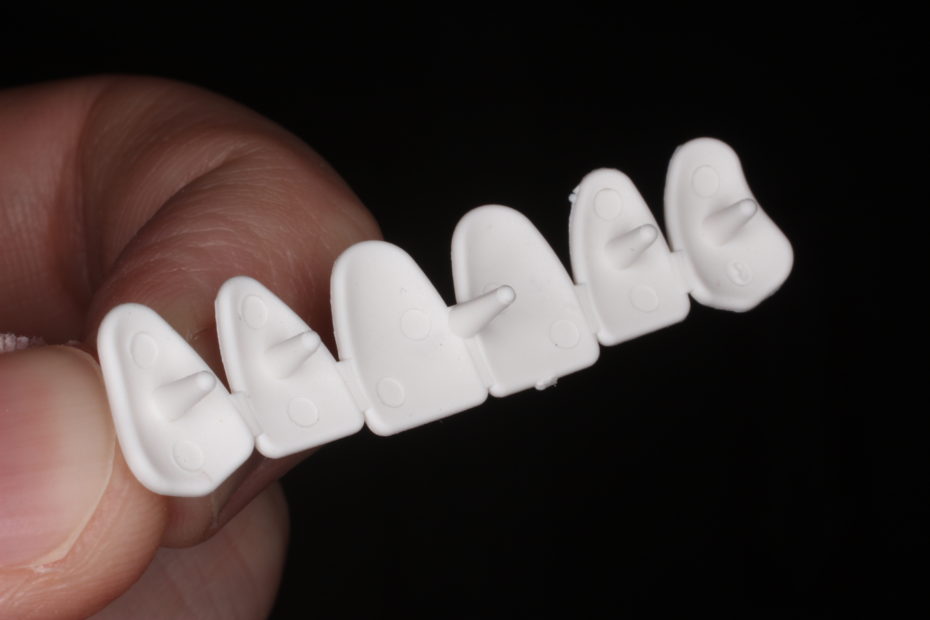
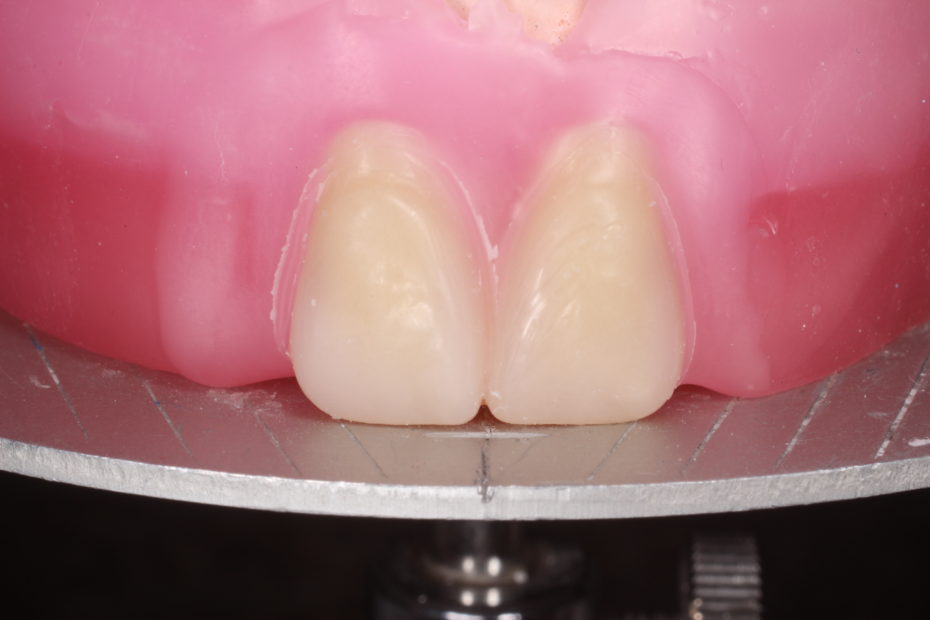 Another easy way to be more precise is to use two centrals when marking your midline. Instead of making a mark, quickly place two denture teeth in the rim with a hot knife. If you think that is too hard, use an anterior template. Both will allow you and your patient to see exactly where you are telling the technician to place your teeth. If it’s canted or too high or low in this step, rest assured it will be the same way when you receive it back from the lab.
 Maybe the easiest of all, take pictures. A picture is worth 1,000 words! Look at these pictures before that patient is allowed to leave the appointment.
Try to remember that your technician is working with exactly what you give them. A bite registration is like a prescription, in that midlines and incisal edge positions are to be followed when they arrive in the lab. No more and no less. Everything the technician needs to know, they should be able to derive from a properly recorded bite rim.
Conclusion
Try these quick tips and you’ll be amazed at how much more precise your try-in appointments are, and save time and money as you easily go from record taking, to trial, to delivery. If you have any questions or would like a template included in your next denture case, call us at the lab at 757-271-5811. We’d love to help you look like a hero to your patient!