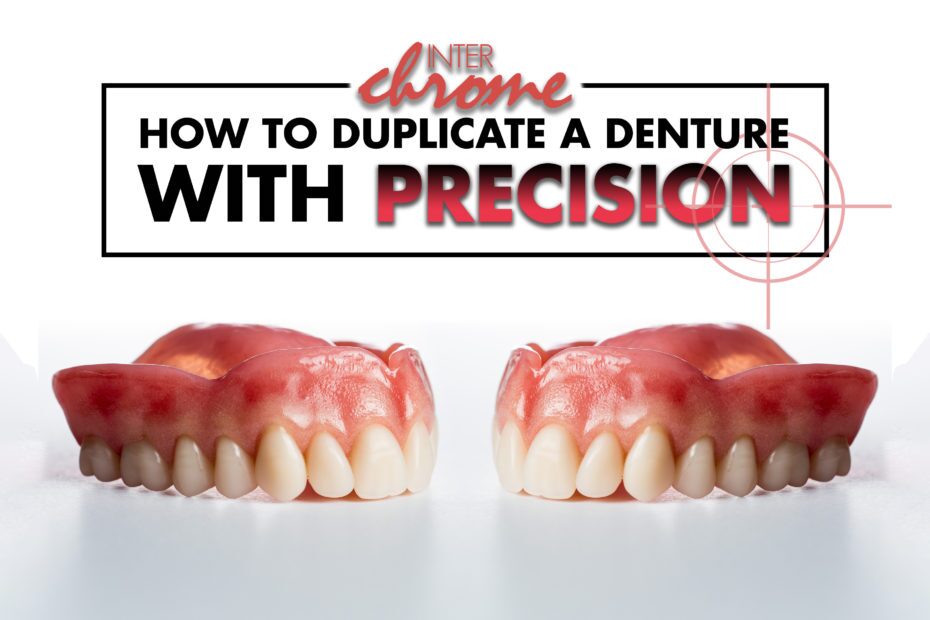
Making new dentures is great. As a denture technician, I’m able to start from scratch in most cases, and make something far more beautiful and functional than what the patient had prior. As a clinician, I’m sure it’s an amazing feeling to see a true transformation in someone’s mouth, and thus, helping to change their life in some positive way.
Sometimes however, when we make a new denture, we get requests for the new denture to mimic or mirror the old denture. Even when the old denture is not good! Sometimes this is because the patient is self-conscious, and they don’t want others to know they got a new set of dentures. Maybe they’ve had previous failed attempts at replacing an old denture. I’ve even heard of ladies saying, “My husband doesn’t even know I wear a denture, and the new one has to look just like the old.” Well, as hard as that is to believe, my heart really goes out to people in that situation. They just want an improvement for themselves without others knowing that something is going on. This is when a clinician and a lab technician need to be on the same page as to what their goals are.
First and foremost, we need to record accurate information. Sometimes, we will go to an office and assist a clinician in this circumstance to ensure that we get all the information we need in order to properly replicate an appliance. Other times, especially if the clinician resides in a different city from the lab, there needs to be a protocol one can follow to ensure that the lab gets what they need to meet the demanding goal of the patient. Watch the following video to see a method that has really helped us meet this kind of goal with our clients, and surpass your patient’s expectations!
Of course in the coming age of digital dentures, this problem and solution may become totally irrelevant. But today in 2018, while we are still waiting on a digital denture solution to appear that totally revolutionizes our workflow, this is a tried and true method that yields less chairtime, more precision, and happy patients. We can all use a little more of that. Below is a bulleted list of steps to summarize the procedure:
- Take a reline impression inside the denture to record the intaglio surface of the denture. This also allows you the chance to add wax and border mold around the periphery in a perfect world. (If the existing denture fits like a glove, just skip this step and consider a reline down the road if necessary.)
- Create a model inside the denture. Use stone if you choose to take a reline impression inside the denture. Use lab putty if you choose to go without presently changing the intaglio surface.
- Prep the model for mounting by either trimming the stone, or encasing the putty in stone so that plaster can adhere to the stone.
- Arrange midline and incisal edge on a flat plane stand such as the one from Panadent used in the prior video.
- Articulate this maxillary model and denture.
- Once set, articulate the opposing.
- Make study models of the existing denture(s).
- Choose the denture teeth shade.
- Choose the denture teeth mould.
- Remove the denture(s) from the models, clean, and return to the patient.
If you have questions about this procedure or anything related to denture procedures, contact us at Inter-Chrome, we’d be happy to help make you look like a hero to your patients!
And finally, we’d also like to encourage you to leave comments and join the conversation. You can follow us on Facebook by clicking here. And see all the great weekly content from our lab on Instagram by following us @interchromedental.
Tags: Articulating, Complete Dentures, Duplicate Denture, Incisal Edge, Kois Facebow System, Lab Putty, Midline, Recording Information, Vertical Dimension
